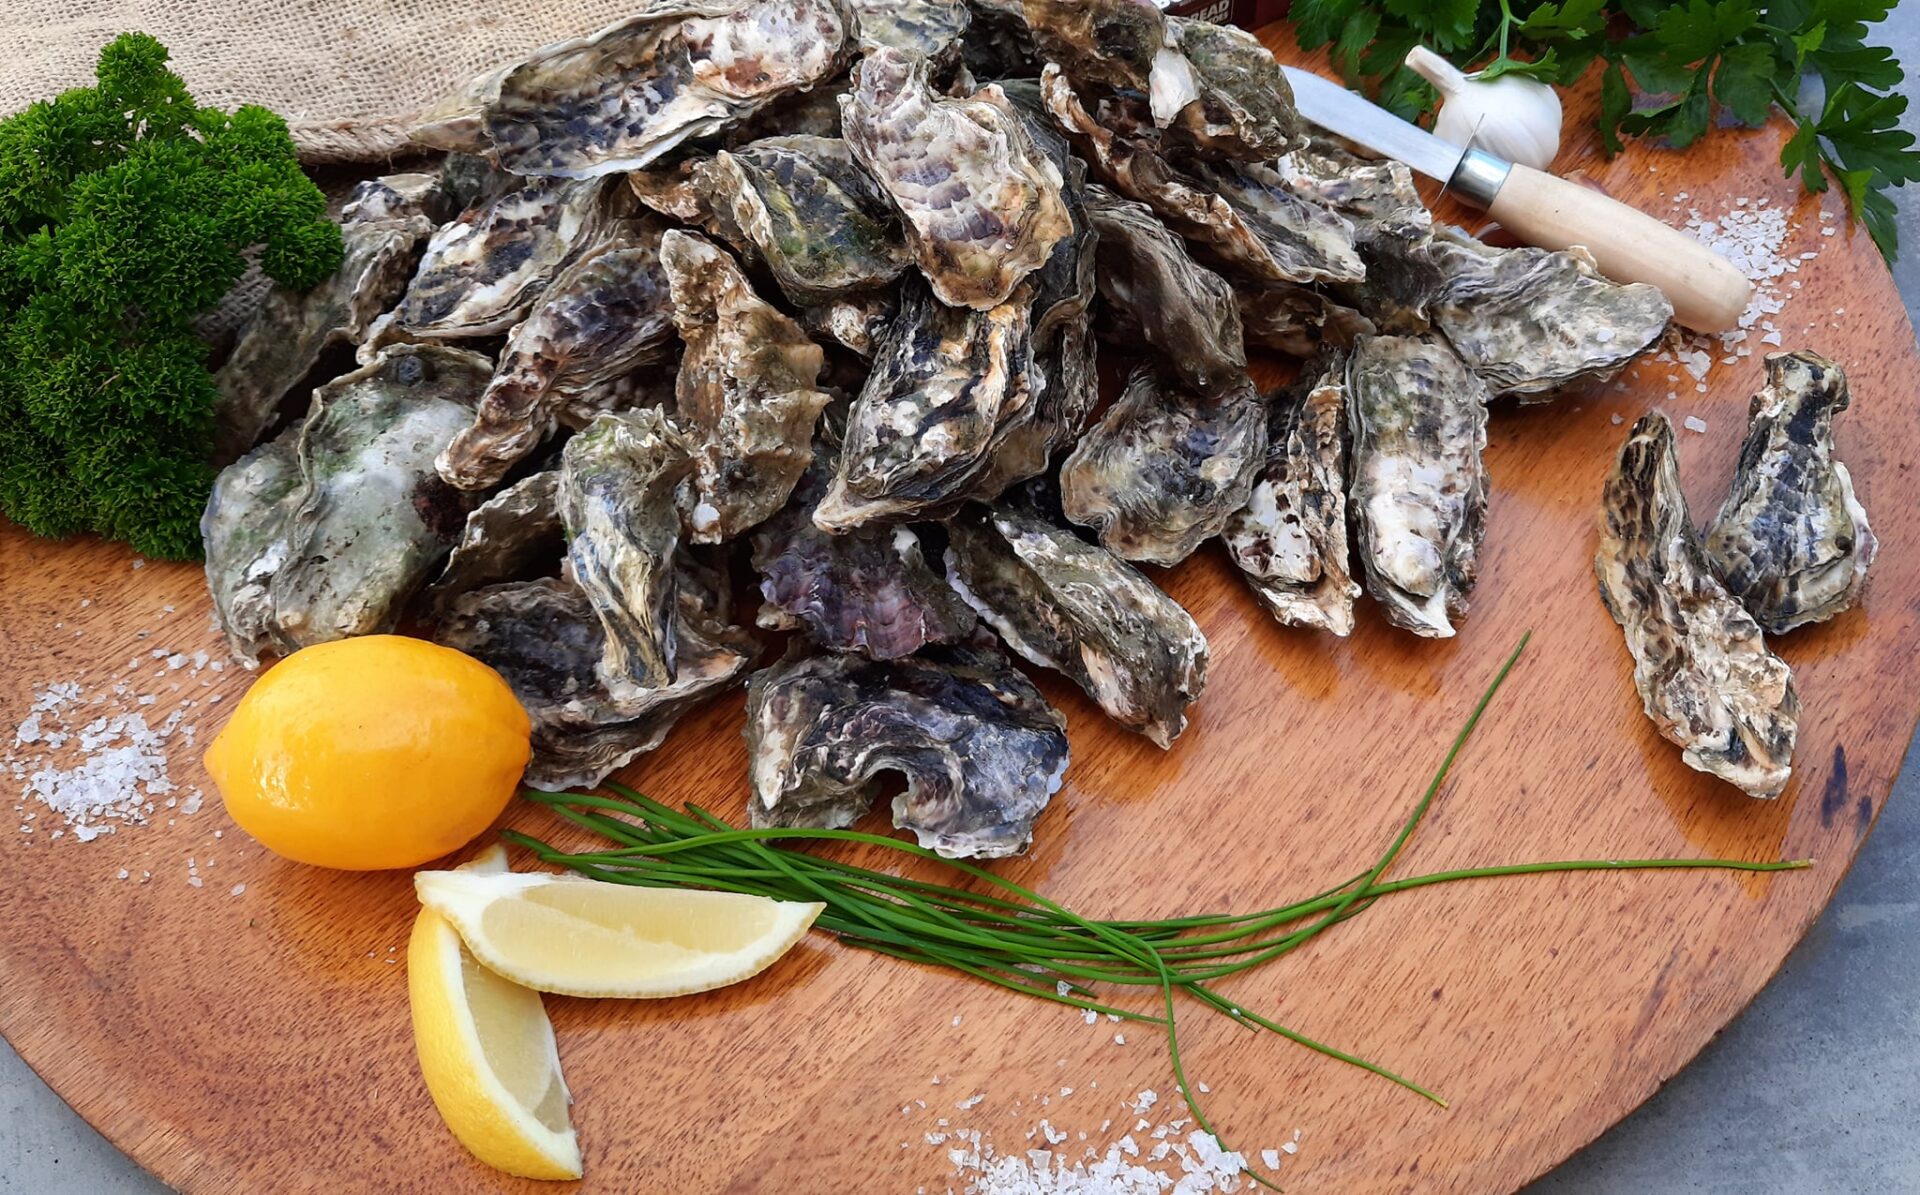
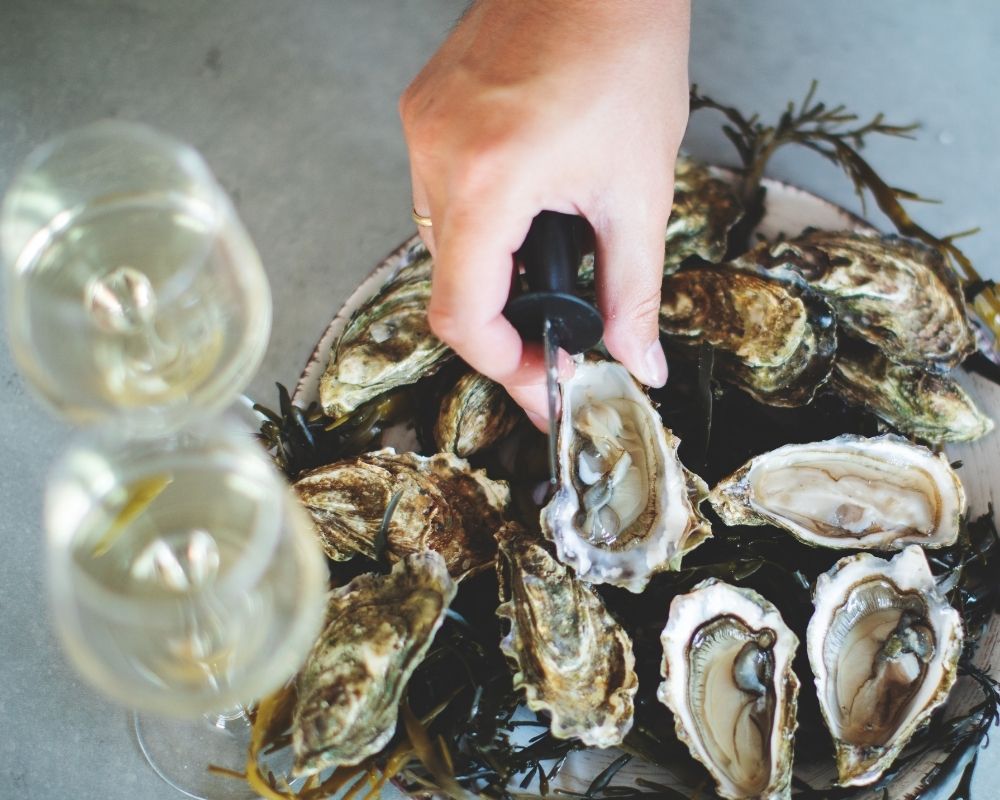
Oysters at home are such a treat and a wonderful delicacy to share with others. But they can be tricky little suckers to open. Shucking an oyster takes a bit of skill, a bit of time, gloves and a good oyster knife.
However, if you’re not feeling confident, you have dozens of oysters to open, you’re under serious time constraints or simply don’t want the hassle of shucking them, you can still happily gobble them at home. We have a few tricks for opening oysters so you can enjoy them without any fuss.
Ingenious ways to enjoy oysters without wielding a shucking knife.
Heat is a marvellous ally in the opening of oysters. It provides a safe, efficient way to pop them open. It is the oyster’s adductor muscle that keeps the shell shut. Applying heat, whether through boiling, steaming, or microwaving, persuades the oyster to release its grip on the shell, rendering the shucking knife unnecessary. When heating oysters, however, you need to be careful how you position them. Place them cupped side down, with the hinge end facing you. That way if an oyster opens a little enthusiastically, any steam is directed away from you.

Chuck ‘em on the barbie
Simply let the BBQ do the work. Grilling opens the oysters while imparting a smokiness that enhances their natural flavours. Place the oysters on the grill, and let the heat work its magic. As the oysters open, you can add your favourite toppings.
You can also place a wet burlap sack or a damp cloth over them. The steam created within the sack heats the oysters evenly. After a few minutes, carefully remove the sack or cloth, and you’ll find your oysters open and ready to enjoy.
The oven method
Place the oysters on an oven tray flat side up. Then roast them in a super-hot oven until the top shell just opens – about five to seven minutes. Then, pull the top shell of each one with a little help from a butter knife. Be careful of hot steam.
Microwaving: the swift solution
In a hurry? The microwave can be your best friend, particularly if you’ve got people coming over and you’re behind schedule. Arrange the oysters on a microwave-safe plate, cupped side down, and heat them for less than a minute. They should pop open and be ready to serve, preferably on a plate with ice, as if you spent hours adeptly shucking them.
Use the freezer
Place your oysters in the freezer for about 15 to 20 minutes. The cold will cause the oysters to slightly open their shells, making them easier to pry apart. Use a sturdy knife, or an oyster knife if you have one, and gently wiggle it into the slightly open shell. Twist the knife to fully open the oyster and voilà!
You can also freeze them completely and then move them to the fridge. Once thawed, the shells pop fully open all on their own.
Boiling bivalves
Bring a pot of water to a rolling boil. Carefully place the oysters in the water for 30 seconds to one minute. Remove the oysters from the water and let them cool for a moment before holding them with a towel and using a knife to gently twist them open.
You can also steam the oysters open. Put them in a steamer over boiling water. Cover and steam for five to eight minutes, removing oysters as they open. Discard any unopened oysters.
Time to get gobbling
With the power of heat, or cold, you can enjoy oysters without the need for a shucking knife. So, whether you opt for barbequing, roasting, steaming, freezing or the sneaky convenience of the microwave, these tricks promise a hassle-free oyster experience. So, gather your friends and let the oyster feasting begin.
The oyster of choice
Thanks to our careful husbandry and intelligent market selection, our plump Pacific oysters have become the oyster of choice in the Auckland restaurant scene and are exported in large numbers to Pacific Rim countries.
Feel free to contact us directly should you want more information. As a family business, we are very proud of what we produce and sell – and we only sell the best.

